
MyArrival: How to Prepare Travel Documents for India
If you’re sorting out required travel documents for India, it helps to know which jobs can wait and which can’t. Your visa may need attention weeks ahead. The arrival card comes much closer to the trip, though MyArrival lets you get the application ready earlier.
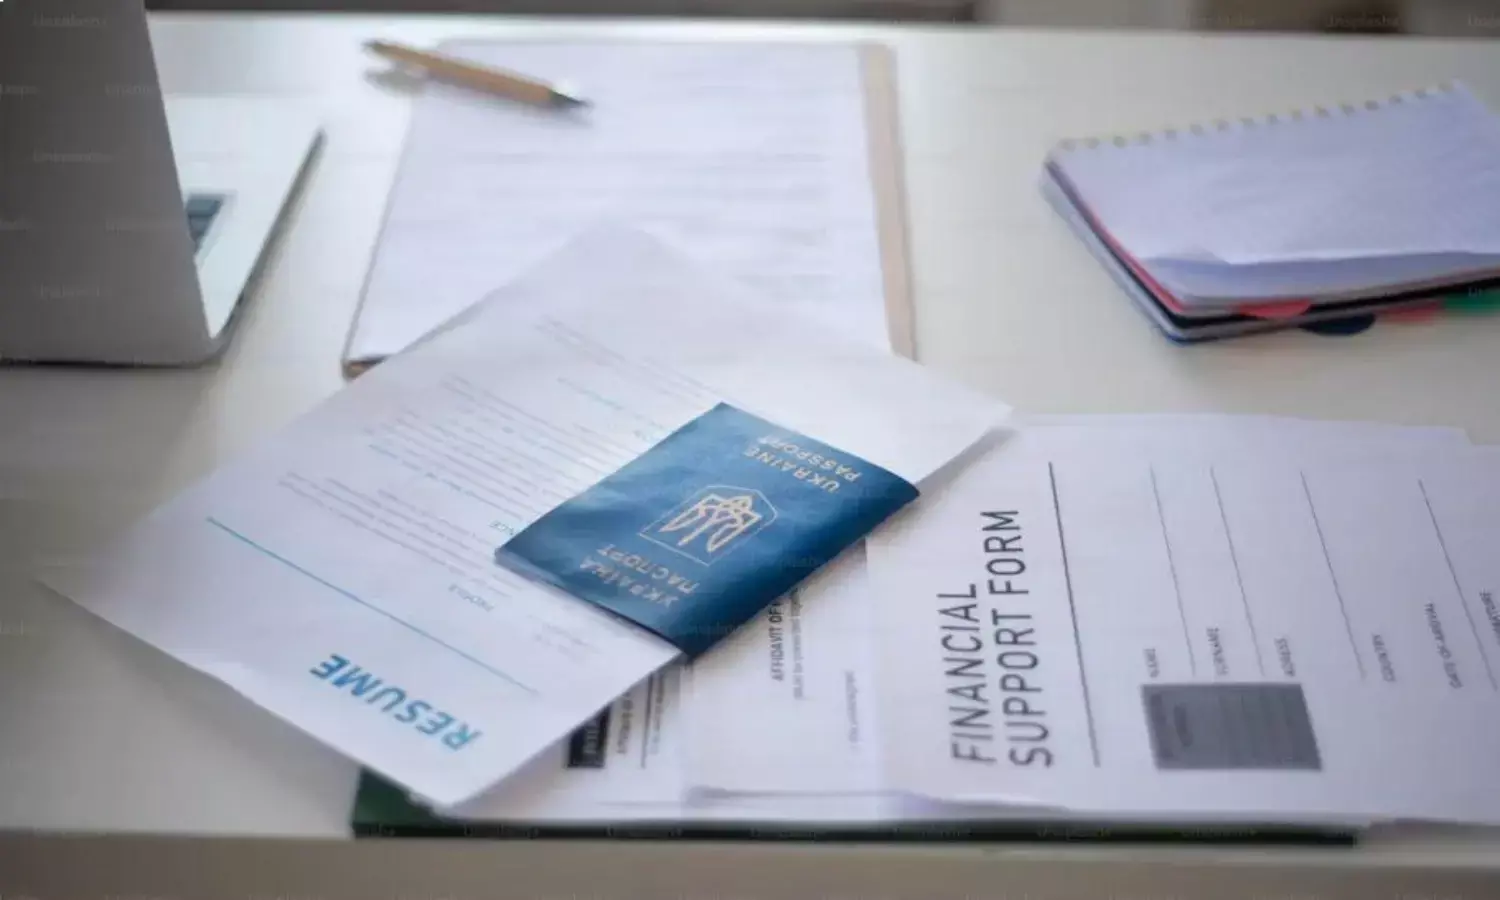
Before anyone starts filling out forms, check which visa requirements apply to each traveler. Friends and relatives on the same booking won’t necessarily need the same paperwork. From there, you can get the information together for the arrival form, either to submit it yourselves or to pass it to a service for help.
A guide from MyArrival: Which Travel Documents for India Should You Check Before You Leave?
Start by checking your passport validity. For an Indian e-Visa application, your passport must be valid for at least six months from your date of arrival in India and have two blank pages. If a renewal is coming up, deal with that before entering passport details into applications.
If you already have an Indian visa, start by checking its dates and entry conditions. Then look up the India visa requirements for your nationality and your plans for this visit. A visa that suited a vacation may not be the right category for business meetings.
Traveling with Overseas Citizen of India (OCI) or eOCI status means you’ll need that documentation and your foreign passport ready. It also means you can travel without a visa. You should still check the arrival-card instructions, though; that’s a separate part of the paperwork.
Keep your return or onward travel details handy too. If your visa requires extra paperwork, such as a business invitation, get that sorted early. You don’t want to discover something is missing when there’s barely any time left to ask your host or company for it.
India Entry Requirements: What the Official Government Website Says
Use the to find details on your nationality, passport type, and travel status. It links to both Indian visa applications and the e-Arrival Card.
What the e-Arrival Card does
The Indian government’s visa portal explicitly distinguishes the e-Arrival Card from a visa:
“This is for arrival information, not a visa.”
So a completed card doesn’t take care of your visa application. You need to arrange any required visa separately, on its own timetable.
Foreign nationals and OCI/eOCI cardholders must submit the card within 72 hours before arriving in India. Pay attention to the word “arriving.” If you leave on Monday and land in India on Tuesday, Tuesday’s arrival is the time to work from.
For eligible e-Tourist and e-Business applicants, the visa instructions specify applying at least four days before arrival. Give yourself longer where possible; that minimum isn’t a promise of approval within four days.
The portal’s current instructions say passengers also need to fill out an Air Suvidha self-declaration before reaching the immigration counter. When reading the health guidance, keep your whole route in mind, including any connections along the way.
How MyArrival Fits Into the Travel Document Preparation Process
If you’re looking for travel document assistance, be clear about which application you want help with. For India, handles the arrival card. You’ll still need to arrange any required visa separately.
The company is an independent provider that prepares and submits the form on your behalf. You can file through the official government portal yourself, too. Assistance is an option if you’d rather have someone handle submission and have a support team to contact about the application.
Early Submission means you can send your details while you have time to deal with them. The service then processes the application at the right time for your travel date. That’s one less thing to worry about while you’re finishing work or getting ready to leave.
Early Submission does not change India’s official filing window. It simply allows travelers to complete their part of the application earlier, while MyArrival handles submission within the permitted period.
After submission, the service emails the result. Government processing and the decision on entry remain with the authorities.
Preparing Your Information for a MyArrival Application
Most of the information comes from things you already have: your passport, flight booking, and accommodation confirmation. Bring those together before opening the form. It’s easier than searching through messages for a hotel’s street address halfway through.
You’ll want these details nearby:
- Full names and passport details for everyone included in the application.
- The flight bringing you into India, the arrival date, and the entry point.
- Your address in India and any accommodation or host contact details the form requests.
For a connecting journey, use the flight into India when the form asks for arrival details. Your first flight from home may have a different number and date.
Choose an email address you can open while traveling. Have your contact number and visa or OCI information available as well, and enter what the form asks for.
If you’re doing the form for a friend, ask for all the details from their current passport in one message. It’s much easier to spot anything missing when you’re not digging through older conversations that might refer to a previous passport.
What to Check Before Submitting a MyArrival Application
Leave a few minutes for the review screen. Have your passport open beside you, and read the names in full before moving on to the numbers and dates. A nickname used on a hotel booking doesn’t belong in a field asking for your passport name.
It also helps to read the itinerary again. An overnight flight or a changed connection can put your arrival on a different date. Confirm when the application will be submitted, how you’ll receive the document, and what you’re agreeing to in the service terms.
Refund Policy. Before paying, review the cancellation and refund conditions that apply to your order. The service publishes its refund policy separately, and the available options may depend on the application’s processing status. Keep your order reference in case you need to contact support.
Save the order reference with your booking details so you won’t have to search for it later. The Help Center says you can change trip details before the application is submitted. After submission, contact support to find out whether the changes you need are still possible.
MyArrival: Your Final India Travel Checklist
As part of your final preparations, keep the paperwork you’ll need during the journey in one place. Look through the travel document checklist:
- Your passport and the visa, OCI/eOCI documentation, or other permission that applies to you.
- A copy of your granted Electronic Travel Authorization (ETA), if you’re using an e-Visa.
- Your e-Arrival Card confirmation and any required health declaration.
- Return or onward travel details, your accommodation address, and relevant supporting papers.
- Downloaded copies of confirmations you may need when you’re offline.
A few days before departure, go through the entry paperwork once more. Check India’s latest requirements, make sure your passport and visa or OCI documents are in order, and see when the required arrival and health declarations can be submitted. If you’re using MyArrival, check that the service is preparing the correct e-Arrival Card. Once everything is done, keep the confirmations somewhere easy to access.